Probing on all machining centers capable of checking dimensions and setting offsets within .0002″
CNC VERTICAL MACHINING CENTERS
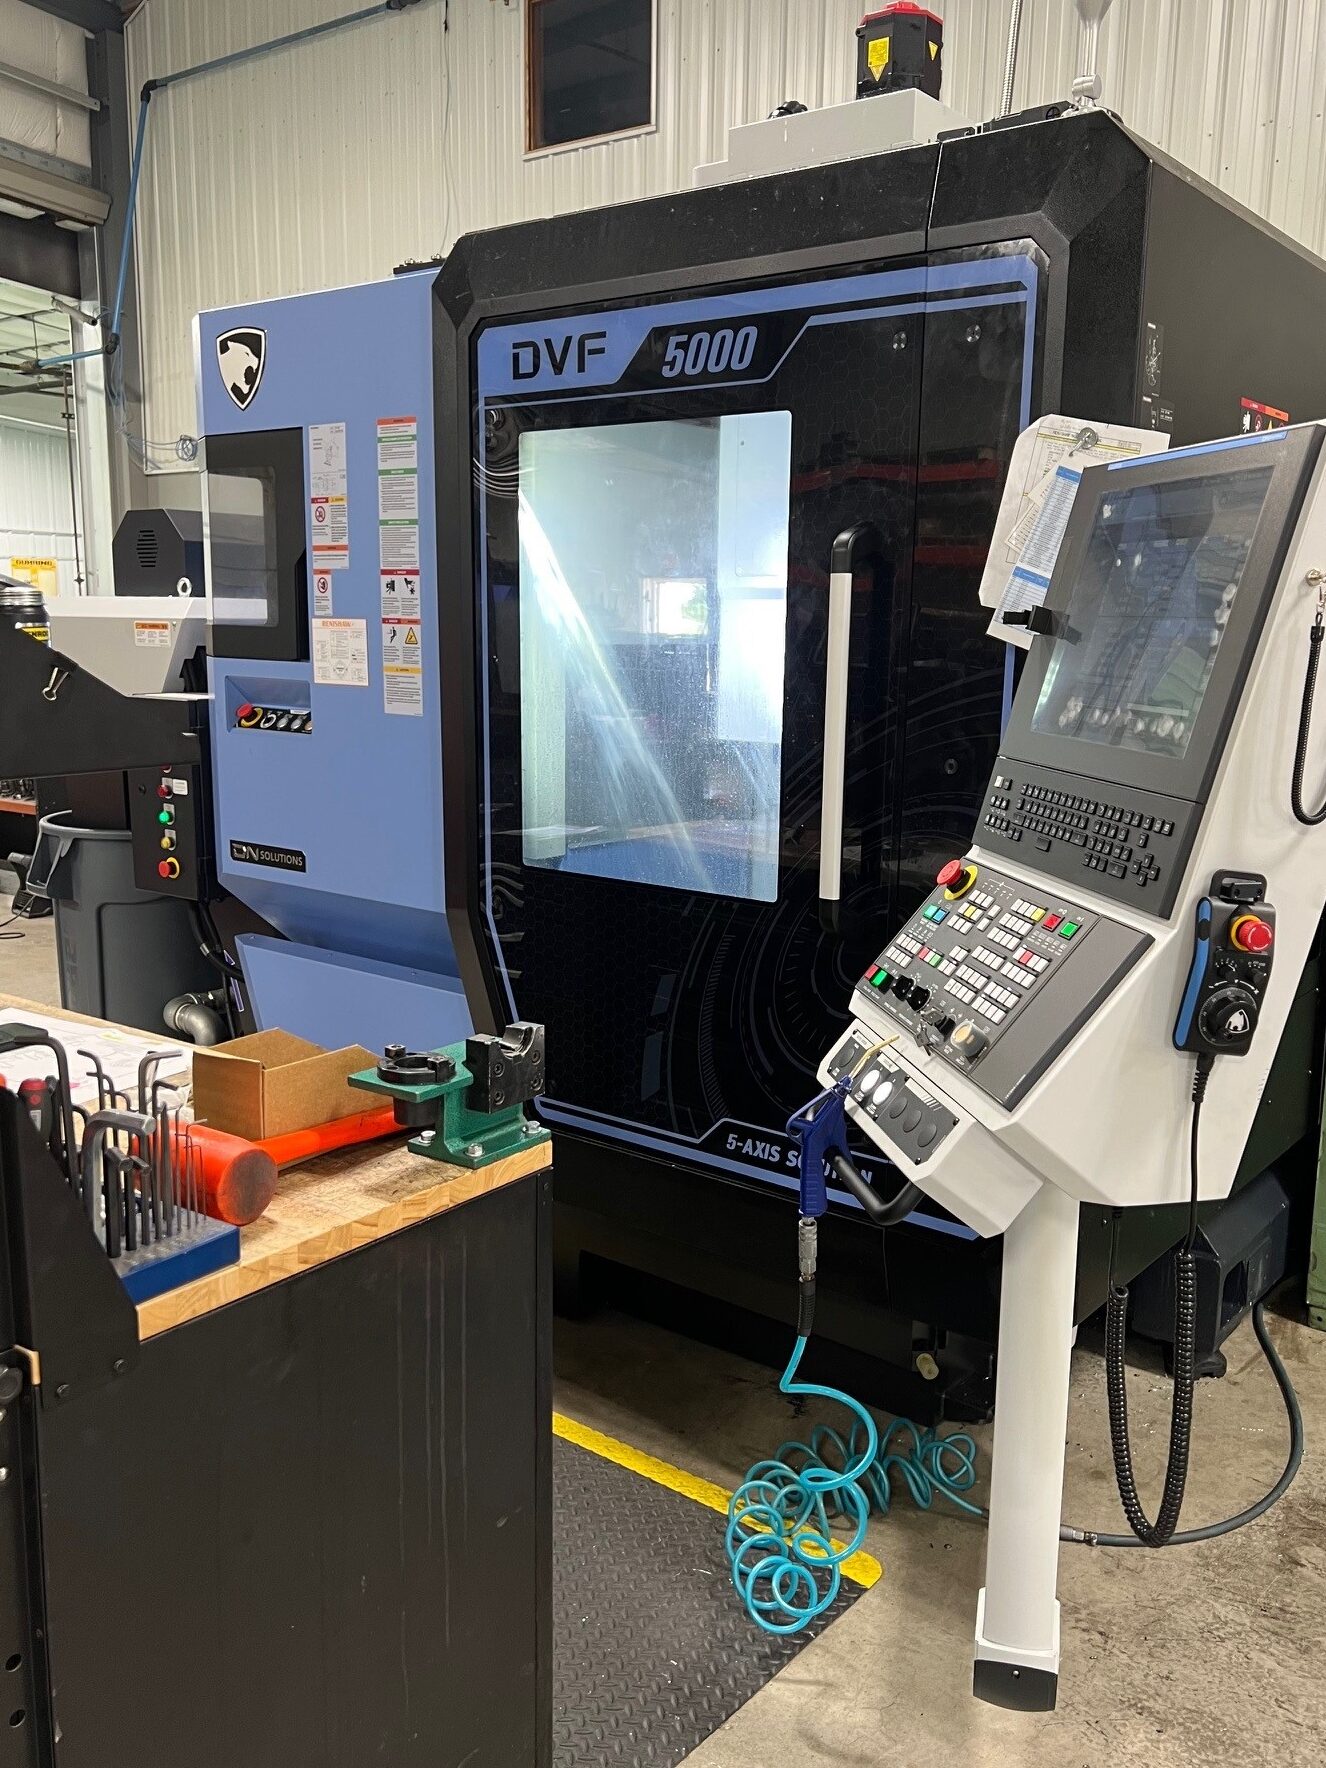
Full 5-AXIS
DN Solutions DVF 5000 gen2
Travel (X,Y,Z) 25″ x 18″ x 16″
20k RPM spindle
850# work load
High speed machining
Through spindle high pressure coolant w/coolant and spindle cooling
3 & 4 AXIS MACHINES
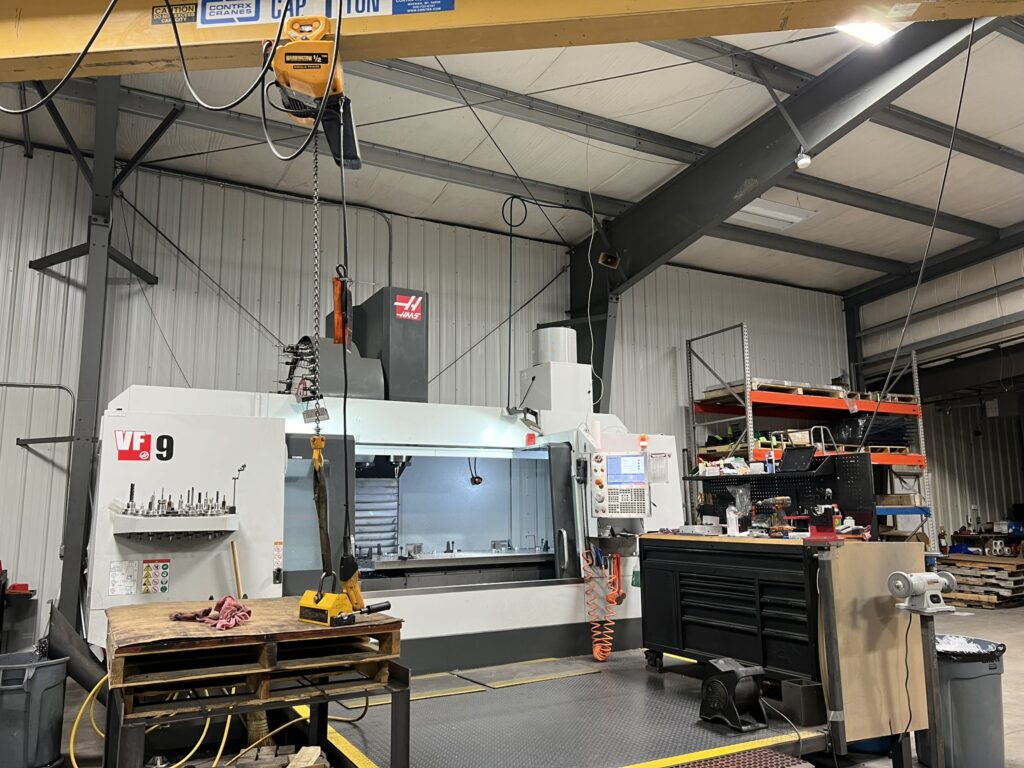
HAAS VF9 CAT50 taper
Travel (X,Y,Z) 84″ x 40″ x 30″
Full 4th axis
7500 RPM spindle with geared head
4000# work load
Through spindle high pressure coolant
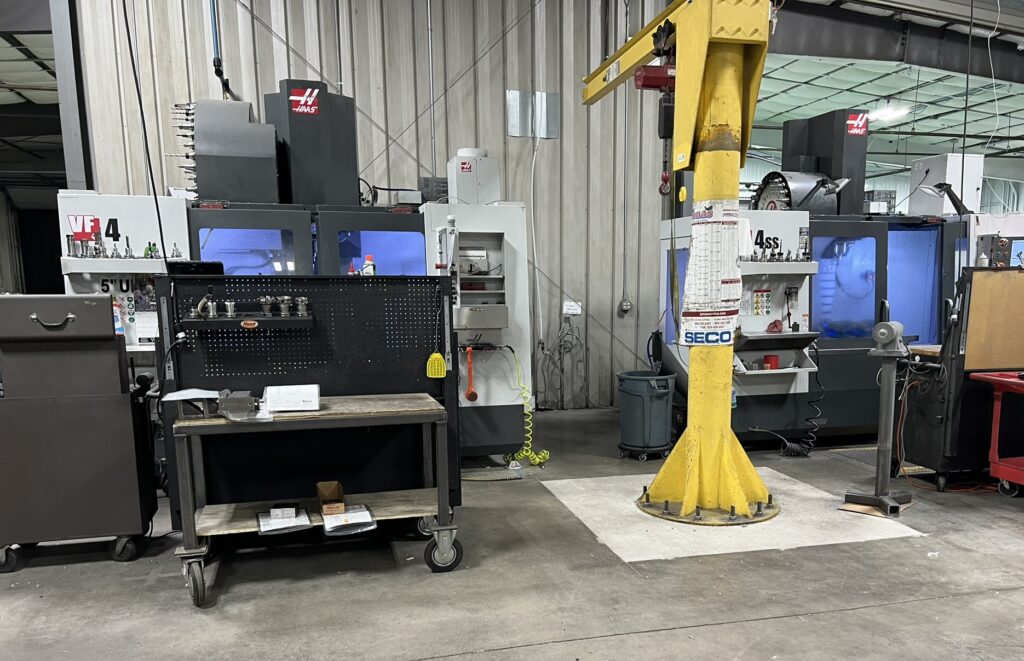
HAAS (1)VF4 & (2) VF4ss CAT40 taper
Travel (X,Y,Z) 50″ x 20″ x 25″
Full 4th axis
10k & 12k RPM spindle
1750# work load
High speed machining
Through spindle high pressure coolant & air blast
CNC LATHE MACHINING CENTERS
PUMA DNT 2600L
20” Swing
18”x42” Cutting (dia x length)
3.2″ spindle bore
Programmable tailstock
(x2) HAAS ST35
21” Swing
18”x26” Cutting (dia x length)
4″ spindle bore
Programmable tailstock
MANUAL MILLING MACHINE
Acer E-mill Model 3VSII
Travel (X,Y,Z) 42″x 12″ x 16″
Power feed (X,Y)
SUPPORT EQUIPMENT
- Master-Cam with 3D swept surface and 4th axis capability.
- Autocad
- 90° Angle Head
- HAAS 5C collet full 4th axis unit with tailstock
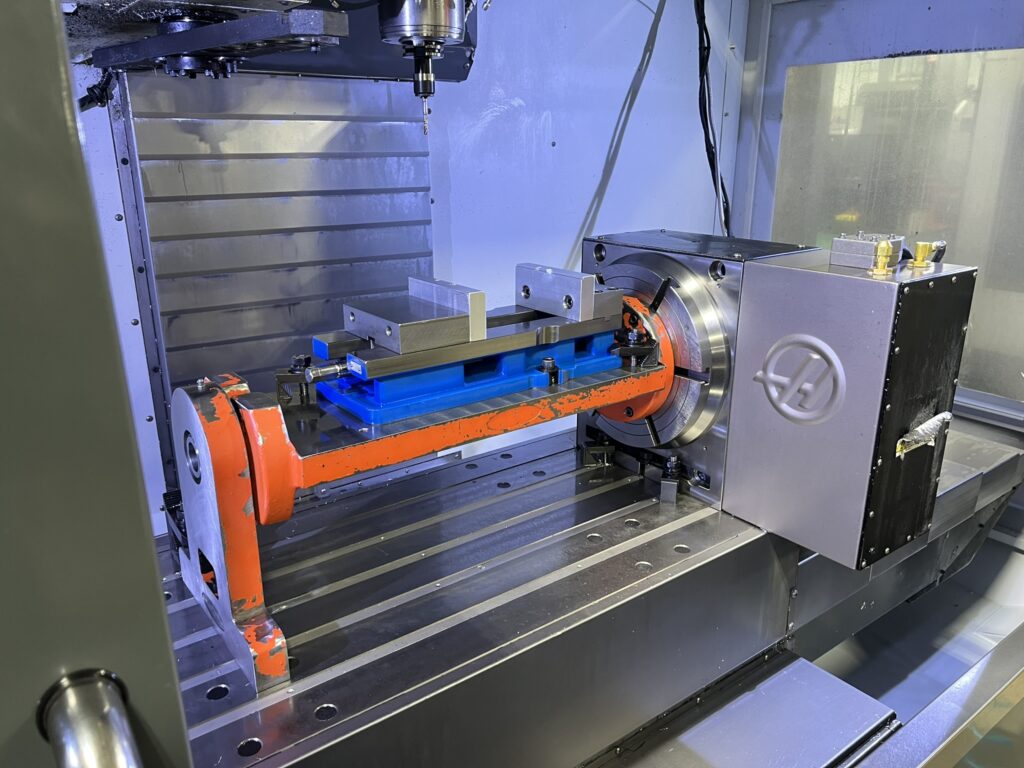
- HAAS HR310 12″ face plate full 4th axis unit with additional 12″ chuck & tailstock
- 4th axis double station Trunnion Table
- Horizontal production Band Saws with programmable auto feed up to 12.75″ x 12.6″ flat & 12.75″ diameter
- Vertical Band Saw W/ 20″ throat
- FlexArm hydraulic tapping arm up to 3/4″ tapping capacity.
- 12 ton arbor press
- Internal broaching, SAE & Metric up to 3/4″ & 18mm
- MIG (wire), and TIG welding of Mild Steel, Stainless, and Aluminum
- Deburring, tumbling, glass bead & sand blasting
- Strong relationships with waterjet suppliers
- Strong relationships with laser & bend suppliers
- Strong relationships with coating suppliers (powder coat & paint, anodize, nickel, chrome, black oxide)
- Strong relationships with heat treating suppliers
- Strong relationships with grinding / honing suppliers
- Mechanical Assembly
- Small Product Assembly
- F550 Truck 12′ bed for local pickups and delivery
- Stocking programs
- Most common materials inventory
INSPECTION EQUIPMENT
- Integrated probes in Machining Centers
- Tesa Micro-Hite CMM
- Mitutoyo QM Height stand (24″) accuracy ±(2.4+2.1L/600) μm
- Starret 0″-12″ micrometers w/ qualified standards
- Mitutoyo 13″-18″ micrometers w/ qualified standards
- Pink Granite Grade A Inspection Table W/ certification
- Gauge pins from .011″ – 1.000″
- Gauge block sets with certifications
- Miscellaneous Thread micrometers up to 3″
- Depth micrometers to 12″
- Bore gauges up to 12″
- Thread gauges and wires
- Full inspection reports by request
Engineering:
- Able to work with DWG. DXF. STEP. IGES. And solidworks
- Design
- Reverse Engineering
- Spare parts, OEM replacement
- Prototype Machining
- Jigs and Fixtures
- Tool and Die
